

Chana Masala, also known as chickpea curry, is one of the most beloved and iconic dishes in Indian cuisine. Rich in flavor, nutrition, and cultural significance, this vegetarian delicacy has earned global recognition for its unique blend of spices and comforting taste. Originating from the Indian subcontinent, Chana Masala is especially popular in North India and has become a staple in households, restaurants, and street food culture alike.
At its core, Chana Masala is made from chickpeas cooked in a spicy, tangy tomato-based gravy. The dish is seasoned with a combination of aromatic spices such as cumin, coriander, turmeric, garam masala, and amchur which gives it a distinctive sour note. Fresh ingredients like onions, garlic, ginger, and green chilies further enhance its depth of flavor, making it both tasty and satisfying.
From a cultural perspective, Chana Masala holds a special place in Indian food traditions. It is commonly served during festivals, family gatherings, and everyday meals. Chana Masala is more than just a dish—it is a symbol of India’s rich culinary diversity and tradition. Whether enjoyed as street food or a home-cooked meal, it continues to delight taste buds and bring people together across cultures.
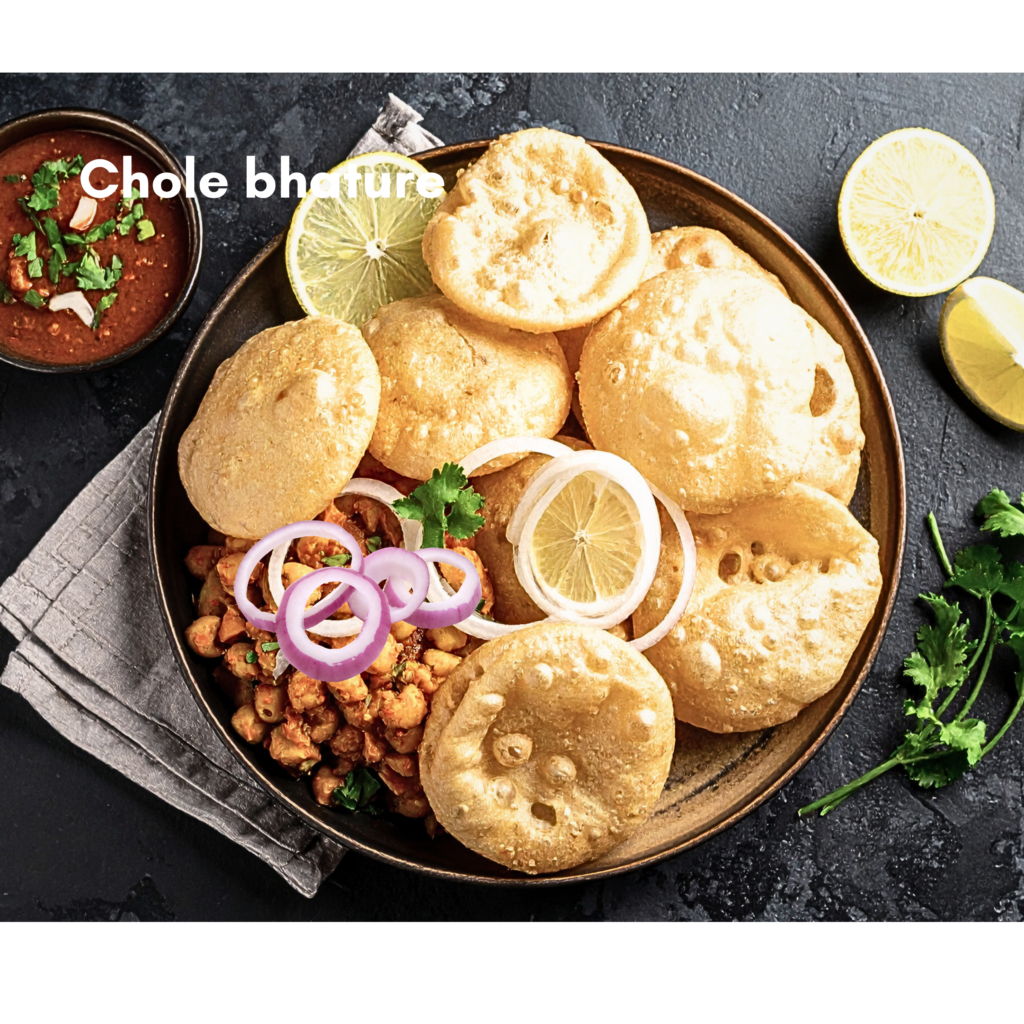
It is commonly served during family meals, festivals, and special occasions. In North India, it is famously paired with bhature known as “Chole Bhature,” a beloved street food. In South India, including Chennai, it is often enjoyed with rice, chapati, or dosa, showing its versatility across regions.
In recent years, Chana Masala has gained international popularity as people explore global cuisines and seek healthier, plant-based food options. Its rich taste, ease of preparation, and versatility have made it a favorite in kitchens around the world.
.

Another benefit of homemade recipes is that they can be less expensive than buying prepared or restaurant-prepared food. When you make your own food, you can often save money by using cheaper ingredients and bulk-buying items that are on sale. You can also save money by reusing ingredients and leftovers, rather than buying new ingredients each time you want to make a dish.
In addition to the financial benefits, homemade recipes can be:
- more satisfying and enjoyable to make and eat
- delicious and nourishing for yourself and others.
- relaxing and therapeutic activity, as it allows you to be creative and engage your senses.
Homemade recipes can also be a great way to bond with friends and family. Inviting others to help with the cooking process or sharing a meal together can be a fun and enjoyable way to spend time together.
Finally, homemade recipes can be more environmentally friendly than store-bought or restaurant-prepared food. When you make your own food, you can reduce the amount of packaging and transportation involved, as well as the energy used to produce and transport the ingredients.

Overall, homemade recipes offer a range of benefits, including better control over ingredients and amounts, cost savings, enjoyment and satisfaction, social connections, and environmental benefits. Whether you are a seasoned cook or just starting out, making your own recipes can be a rewarding and fulfilling experience.
✅ Quick Tips: Read the recipe in its entirety before you start cooking. This will help you understand the ingredients, steps, and timing involved, and allow you to prepare any necessary equipment or ingredients beforehand.
Channa Masala Recipe/Chick pea curry
Description
Chennai Masala is a rich, aromatic, and spicy South Indian dish inspired by the vibrant culinary traditions of Tamil Nadu. Known for its bold flavors, coconut-based gravies, and fragrant spices, this dish is a perfect blend of taste and nutrition.Chennai Masala is more than just a curry—it’s a celebration of South Indian flavors. Its unique blend of spices, creamy coconut texture, and hearty ingredients make it a must-try dish for food lovers. Ingredients .
Ingredients
Instructions
-
First, wash the dried chickpeas thoroughly and soak them in water overnight. This helps soften the chickpeas and reduces cooking time Soaking channa (also known as chickpeas or kabuli chana) is an essential step in preparing a delicious and authentic channa masala. Proper soaking not only reduces cooking time but also improves texture, flavor, and digestion After soaking, pressure cook them with a little salt until they become soft and tender.
-
Heat oil in a pan and add cumin seeds. Once they start to splutter, add finely chopped onions and sauté until golden brown. This step is Important as it builds the base flavor of the curry. Make sure to keep the heat moderate and stir regularly for even browning. Properly sautéed onions should be slightly caramelized, aromatic, and not burnt, giving your channa masala a rich and deep taste.
-
Add ginger-garlic paste and green chilies to the pan. Cook for a few minutes until the raw smell disappears, enhancing the aroma of the dish.Properly sautéed ginger garlic paste gives your channa masala a rich, authentic taste and boosts its overall depth of flavor, making your dish more delicious and aromatic.
-
Next, add tomato puree along with turmeric powder, red chili powder, coriander powder, and salt. Cook the mixture until the oil begins to separate from the masala, indicating it is well-cooked.
-
Add the boiled chickpeas into the masala along with some of the cooking water. Stir well and let it simmer for 10–15 minutes so that the chickpeas absorb the flavors.
-
Sprinkle garam masala and channa masala powder. Mix well and cook for another few minutes. Adjust the consistency by adding water if required.
-
Finally, garnish with freshly chopped coriander leaves. Serve hot with rice, chapati, or naan for a wholesome meal.

Nutrition Facts
Servings 1
- Amount Per Serving
- Calories 386kcal
- % Daily Value *
- Total Fat 16.7g26%
- Saturated Fat 2.4g12%
- Total Carbohydrate 56.5g19%
- Sugars 7.5g
- Protein 18.2g37%
- Vitamin A 302 IU
- Vitamin C 12 mg
- Calcium 135 mg
- Iron 7 mg
* Percent Daily Values are based on a 2,000 calorie diet. Your daily value may be higher or lower depending on your calorie needs.
Note
You can also use other types of beans in this recipe, such as black beans or pinto beans.
Feel free to get creative and add your favorite pizza toppings to the mix!